


Why Is My Basin Faucet Leaking?
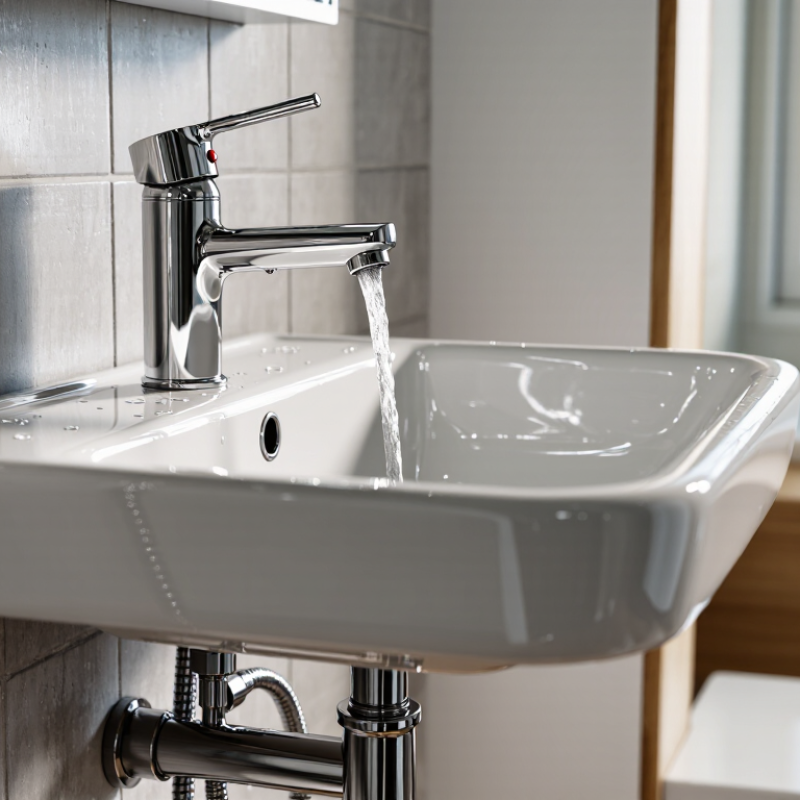
Why is my basin faucet leaking? A slow drip can seem harmless, but it often signals a worn internal part. Water may escape from the spout, handle, base, or supply connection. Each location suggests a different cause. A dripping spout commonly points to a damaged cartridge, valve seat, or rubber seal. Water around the handle may indicate a loose packing nut or deteriorated O-ring. A leak at the base can involve the faucet body, mounting hardware, or a failed gasket.
Small details matter. Place a dry tissue around each connection, then open and close the tap slowly. The first wet mark can reveal the leak’s path. Check whether the water appears only under pressure. Also inspect the flexible hoses beneath the basin for corrosion, bulges, or a loose connector. Turn off the supply valves before removing any component. Do not force a stuck fitting, because cracked threads can create a larger repair.
A reliable diagnosis requires more than tightening everything. Manufacturer instructions can identify the correct cartridge or seal, while a qualified plumber can assess hidden leaks and damaged pipework. Some faucets look similar but use different replacement parts. That mistake is easy to make. If the leak continues after cleaning and replacement, the faucet may have internal corrosion or poor alignment. The repair may need reconsideration. Careful testing, correct parts, and controlled water pressure help prevent another leak and protect the cabinet below.
Common Causes of a Leaking Basin Faucet
Why Is My Basin Faucet Leaking?
Common Causes of a Leaking Basin Faucet
A leaking basin faucet usually points to a worn internal seal, not a serious pipe failure. The cartridge, ceramic disc, O-ring, or rubber washer may have hardened after years of hot and cold water exposure. A loose packing nut can also let water escape around the handle. If water drips from the spout after closing, suspect the cartridge or valve seat. If it appears beneath the handle, inspect the O-ring and retaining nut.
Water pressure can worsen small defects. The U.S. Environmental Protection Agency’s WaterSense program reports that household leaks waste nearly 10,000 gallons of water each year. Its Fix a Leak Week materials also estimate that plumbing leaks waste almost 1 trillion gallons annually across the United States. These figures make a slow drip worth checking, even when the basin still works normally. It is easy to blame the faucet body. That is often wrong. A damaged washer may be the real problem.
Tips: Dry the faucet completely, then wrap tissue around each joint. The first damp spot identifies the leak path. Turn off the supply valves before removing parts. Photograph the assembly before disconnection. Match replacement seals carefully, because similar-looking sizes can differ. Do not overtighten the packing nut; excessive force may crush the seal or damage threads. If the leak returns quickly, test water pressure and inspect corrosion inside the valve. An experienced plumber can confirm the fault without replacing the entire fitting.
Why Is My Basin Faucet Leaking? - Common Causes of a Leaking Basin Faucet
| Common Cause | Typical Leak Location | Common Signs | How to Check | Recommended Action | Difficulty |
|---|---|---|---|---|---|
| Worn cartridge or valve | Around the handle or from the spout when the faucet is closed | Persistent dripping, a loose handle, or difficulty controlling water flow | Close the faucet and observe the spout. Remove the handle only after shutting off the water supply. | Replace the cartridge or valve with a compatible part. Clean mineral deposits from the valve seat if applicable. | Moderate |
| Damaged or hardened O-ring | Base of the spout, handle, or connection between moving components | Water appears when the spout or handle is moved; the fitting may feel stiff | Dry the area completely, then operate the faucet and look for water emerging from a joint. | Replace the O-ring with the correct size and apply suitable plumber’s silicone grease where recommended. | Low to moderate |
| Loose supply connection | Under the basin at the supply line or faucet inlet | Water collects inside the cabinet, often after the faucet is used | Dry the connections and run the faucet while checking each joint with a tissue. | Hand-tighten first, then make a small additional adjustment with a wrench. Do not overtighten. | Low |
| Worn or incorrectly fitted washer | Threaded joints, compression fittings, or older valve assemblies | Slow seepage from a joint that may worsen when water pressure changes | Turn off the water, disconnect the joint, and inspect the washer for flattening, cracks, or incorrect placement. | Install a matching replacement washer and ensure it sits flat before reconnecting the fitting. | Low |
| Loose mounting nut | Underside of the basin where the faucet is secured | Faucet moves when touched, and water may seep around the mounting hole | Check whether the faucet body rocks and inspect the seal beneath the basin. | Realign the faucet, check the mounting seal, and tighten the mounting nut from below. | Low |
| Corroded or cracked pipework | Flexible hose, rigid pipe, shutoff valve, or drain area beneath the basin | Continuous moisture, rust, discoloration, or a leak that remains when the faucet is not running | Dry all components and check again after several minutes. Inspect for visible cracks or corrosion. | Replace the damaged component. Seek professional help if the shutoff valve or fixed plumbing is affected. | Moderate to high |
| Mineral buildup | Aerator, cartridge, valve seat, or small sealing surfaces | Reduced flow, uneven spray, stiff operation, or a valve that does not close fully | Look for white or chalky deposits and inspect removable parts after turning off the water. | Clean removable parts with an appropriate descaling solution. Replace parts that remain damaged. | Low to moderate |
| Excessive water pressure | Faucet joints, flexible hoses, and other weak connection points | Recurring leaks, forceful flow, or leaks that become more noticeable at certain times | Use a pressure gauge at an appropriate hose connection; avoid guessing based only on flow strength. | Have the plumbing system checked and install or adjust a pressure-reducing valve if required. | High |
Related Posts
-
What Is a Basin Faucet and How Does It Work?
-
What is a Basin Faucet and How Does It Work?
-
What is a Basin Faucet and How to Choose the Best One?
-
Top 10 Basin Faucets of 2023: Stylish, Durable, and Eco-Friendly Options
-
How to Choose the Best Lavatory Faucet for Your Bathroom Needs?
-

Top 10 Bathroom Fixtures You Need for Your Home?